
Cart is empty


How to place a nail extension form without a step and distortion
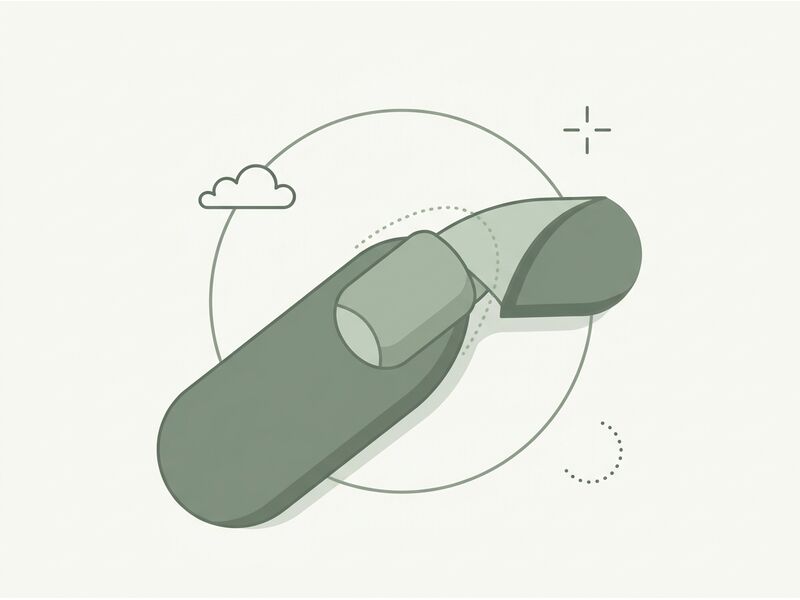
The bottom form should extend the chosen axis of the future nail, fit tightly under the free edge, and not press on the hyponychium. It is not placed the same way for all clients: the plate width, growth direction, side walls, and hyponychium shape require individual cutting and tilt.
What to check before placement
- whether there is a sufficient and stable free edge to slide the template under;
- where the central axis of the finger and nail plate runs;
- whether the side stress points are symmetrical;
- what direction the natural nail has: upward, straight, or downward;
- whether there is trauma, inflammation, or a condition that requires postponing sculpting.
The form is planned for the desired architecture before material application. Correcting an incorrect direction with a thick layer of gel is more difficult and impractical.
Basic sequence
1. Find the center
Orient yourself by the axis of the entire finger, not just the asymmetrical free edge. The center line of the template helps control the direction from above.
2. Try on the form without material
Slide the template under the free edge and look from the side, top, and end. It should not spring, shift, or create a gap.
3. Adapt the cutout
The standard opening rarely matches the anatomy exactly. If necessary, make symmetrical cuts near the side points or adapt the central part for the hyponychium. Cut gradually: an oversized opening cannot be undone.
4. Set the curve
Pre-shape the template so that it supports the future transverse arch, but does not compress the finger. An overly closed form may lift or create an incorrect tunnel.
5. Secure without distortion
First align the center, then symmetrically close the wings. Recheck the view from above, side, and end. Only then apply material.
Form direction for different nails
| Initial situation | What needs to be compensated | What not to do |
|---|---|---|
| Nail grows downward | design a straight visual axis using the form technique | blindly press the template against the lower growth line |
| Nail grows upward | control the side projection and transition thickness | lower the form without considering the future apex |
| Wide plate | sufficient opening and stable side parallels | compress the form, creating a narrow tunnel |
| Deep hyponychium | individual cutout without pressure | force a standard template on |
| Asymmetrical free edge | orientation by finger axis, cutout correction | repeat the distortion of the natural edge |
These principles require practical demonstration. Photos should show at least three angles, because a single side view does not confirm the center.
Where the step comes from
A step at the transition between the natural nail and extension occurs when:
- the form sits lower than the free edge and there is a gap between them;
- the template bends under the weight of the material;
- the cutout does not match the hyponychium;
- the first structural layer did not join both surfaces;
- after removing the form, the lower architecture was not checked.
Do not fill a large gap with a random drop of material. Remove and reposition the form before polymerization.
Why the form twists
One side point may be cut deeper, a wing closed earlier, and the center shifted from the finger's axis. Distortion is visible from uneven side lines and an asymmetrical tunnel. Checking after each wing is faster than fully filing a finished construction.
Paper form also has characteristics
When choosing, evaluate:
- the stiffness of the backing and its ability to hold the curve;
- the quality of the adhesive throughout the procedure;
- the clarity and accuracy of the markings;
- the size of the central opening;
- the ability to adapt the wings without tearing.
Markings help repeat length but do not guarantee the correct axis.
Video on the topic
Demonstration of bottom form placement by Young Nails
Form placement depends on anatomy and the planned nail shape; one template is not universal.
Choose nail extension forms by stiffness, markings, and geometry, and material among gels or acrygels according to the technique.
Products from the article
Frequently Asked Questions
Форма має йти прямо чи трохи вгору?
Напрям залежить від анатомії та запланованої форми нігтя. Універсальний кут у градусах без огляду пальця буде хибним.
Чи можна нарощувати без вільного краю?
Існують техніки для складних випадків, але потрібна відповідна форма, матеріал і практичне навчання. Не намагайтеся силою заводити шаблон під шкіру.
Чому форма відклеюється в лампі?
Причинами можуть бути напруга неправильної кривої, слабкий клей, контакт із пилом або шкірою та неправильне закриття крил.