
Cart is empty


Why gel burns in the lamp: what is heat spike and how to act as a master
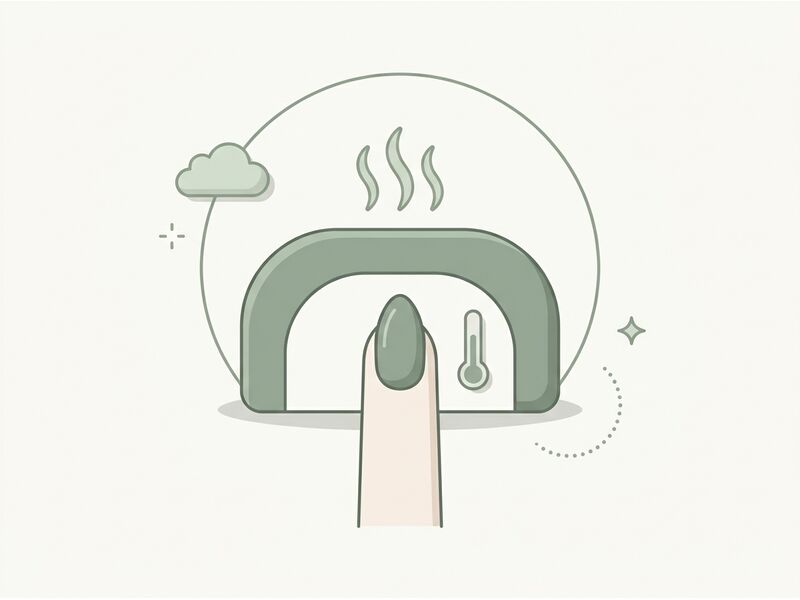
During gel polymerization, an exothermic reaction occurs, so the material can release heat. Sharp burning — heat spike — is often intensified by a thick layer, highly reactive formula, rapid light energy delivery, and a thinned nail plate. The client should not have to endure pain: remove the hand and follow the manufacturer's protocol.
Where the heat comes from
In the lamp, individual molecules react and form a polymer network. This process releases energy in the form of heat. The more material reacts simultaneously, the more noticeable the short temperature peak can be.
The mere fact of slight warmth does not indicate a problem, but strong burning should not be normalized with the phrase "the gel is good, so it burns."
Factors that intensify heat spike
Layer thickness
A large drop of builder gel contains more reactive material than a thin layer. Control is especially important in the apex area and when modeling several nails simultaneously.
Material formula
Different photoinitiators, pigments, and oligomers react differently. Based on subjective burning, one cannot determine "acidity," quality, or completeness of polymerization.
Lamp and mode
Intense light delivery can trigger the reaction faster. A low-heat mode in a compatible lamp usually gradually changes energy delivery, but it can only be used as the material manufacturer intended.
Nail plate condition
A thin, damaged, or over-filed plate may feel heat more sharply. In this situation, adding a thick layer "for protection" is not a solution.
Client sensitivity
Heat perception is individual and can vary even between fingers of the same person. Ask the client to report sensations immediately.
What to do at the moment of burning
- Remove the hand from the lamp. Do not ask the client to endure.
- Assess the intensity and nail condition. Pain, trauma, or damaged skin requires stopping the cosmetic procedure.
- Do not touch raw material with skin. If the construction has lost its shape, follow the system's instructions.
- Continue only with the allowed mode. For example, low-heat — if it is validated for this product.
- Review technique on subsequent nails. Control the volume of material, structure, and number of fingers in the lamp.
Arbitrarily alternating a few seconds in the lamp and out is not a universal protocol. It can change the dose and leave the material incompletely polymerized.
How to reduce risk before polymerization
| Control | Practical action |
|---|---|
| Thickness | build architecture without excess volume |
| Material | know the allowed layer and mode of the specific SKU |
| Lamp | use a compatible, working model |
| Plate | do not over-file during prep and removal |
| Communication | warn the client to immediately remove the hand if sharp burning occurs |
For a sensitive client, choose not a product with a random "does not burn" label, but a system with a documented mode and controlled application technique.
What not to do
- do not press on the nail to "draw away heat";
- do not blow on uncured material or touch it;
- do not apply a very thick layer for speed;
- do not shorten the final exposure due to a previous heat spike;
- do not diagnose allergy or other condition based on burning.
If pain, redness, swelling, or other symptoms remain after the procedure, a medical professional's assessment is needed, not re-coverage with material.
Select sculpting gels together with a compatible lamp, checking allowed thickness, mode, and working method, not just viscosity.
Products from the article
Frequently Asked Questions
Якщо гель пече, він неякісний?
Не обов’язково. Тепловий пік залежить від формули, обсягу, лампи й стану пластини. Якість не можна оцінити лише за цим відчуттям.
Чи допомагає low-heat mode?
Може зменшити різкість піку, якщо лампа й режим схвалені виробником гелю. Low-heat не дозволяє ігнорувати підсумкову потрібну дозу.
Чому прозорий builder пече сильніше за камуфлюючий?
Формули й проникнення світла відрізняються, але це не універсальне правило. Порівнюйте лише конкретні продукти в рекомендованих режимах.