
Cart is empty








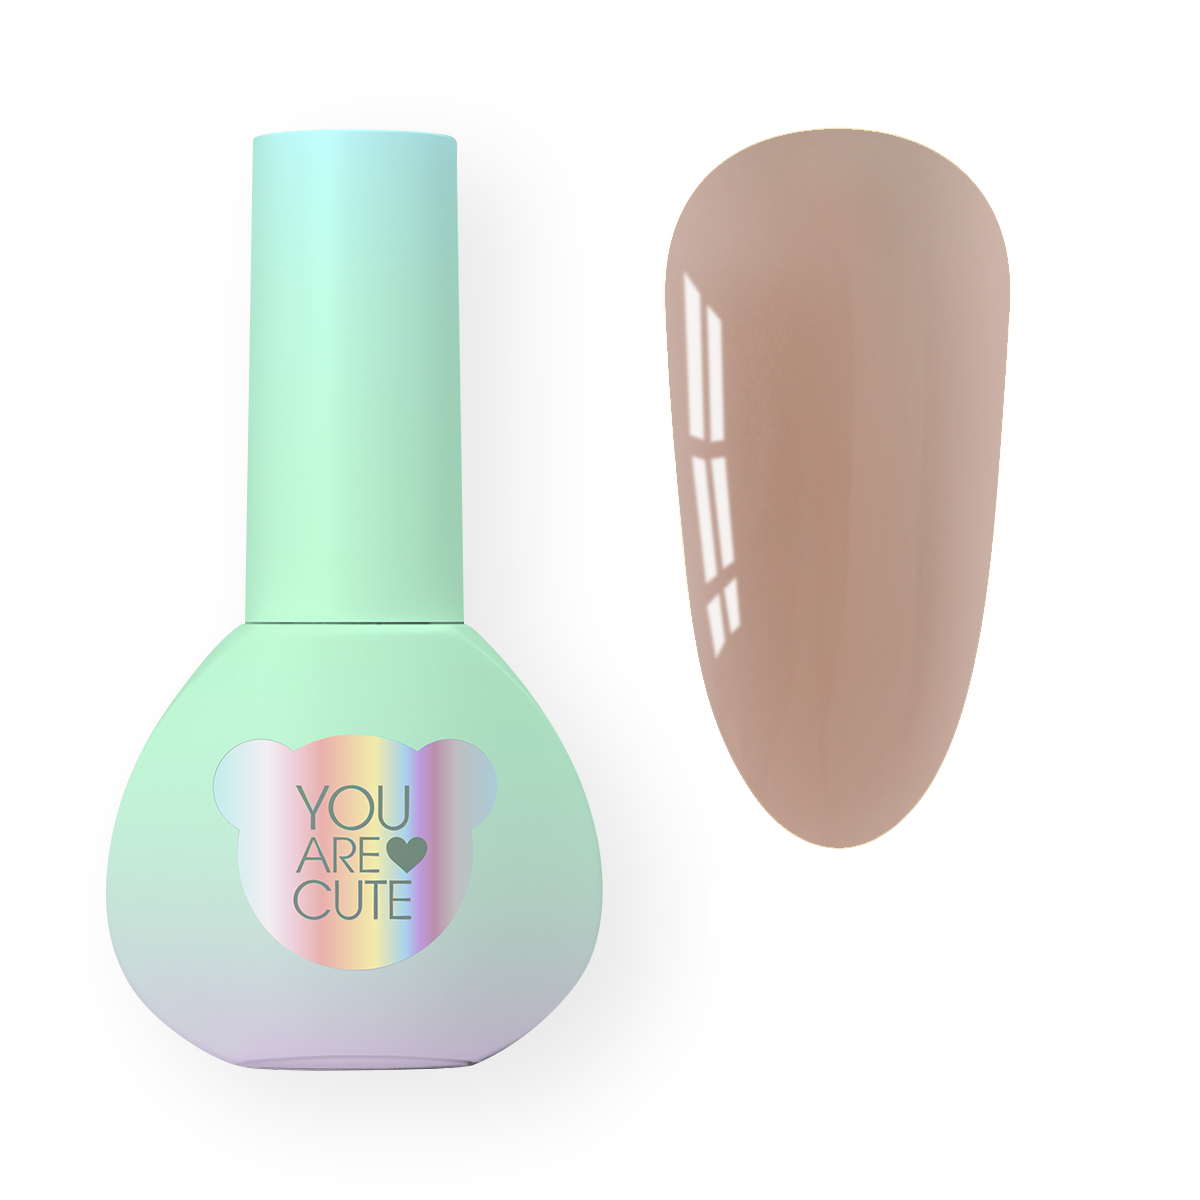
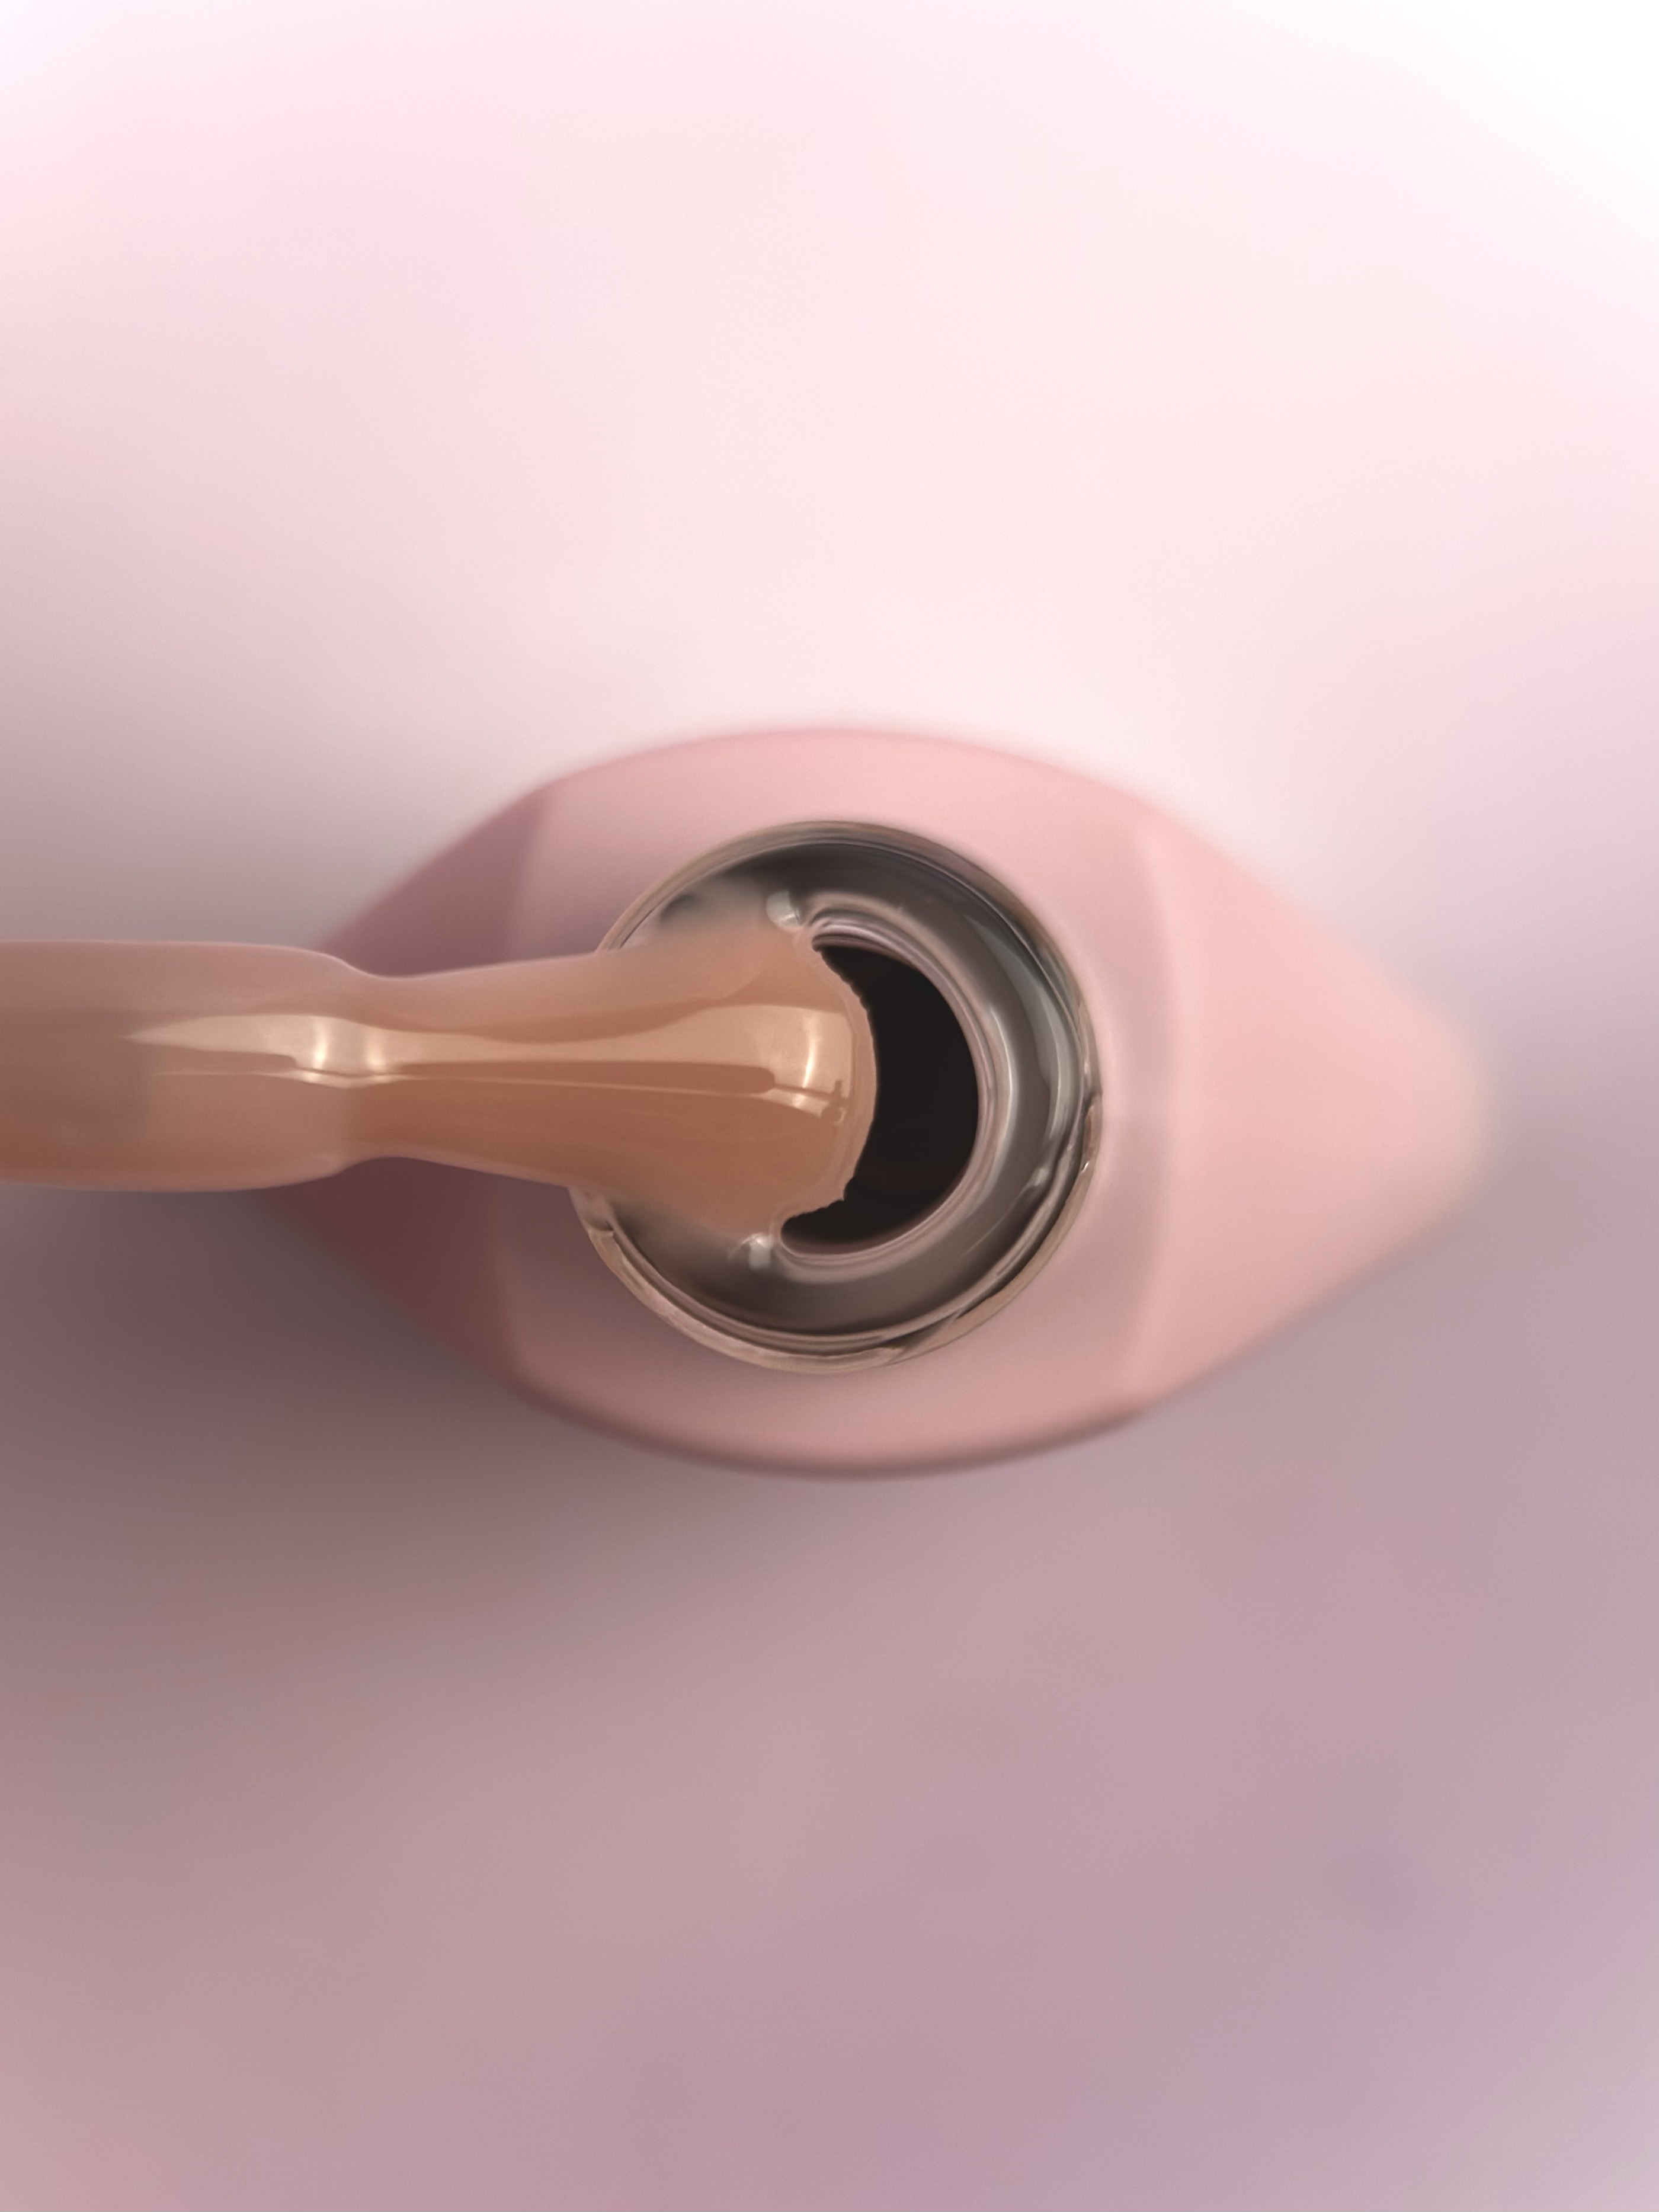
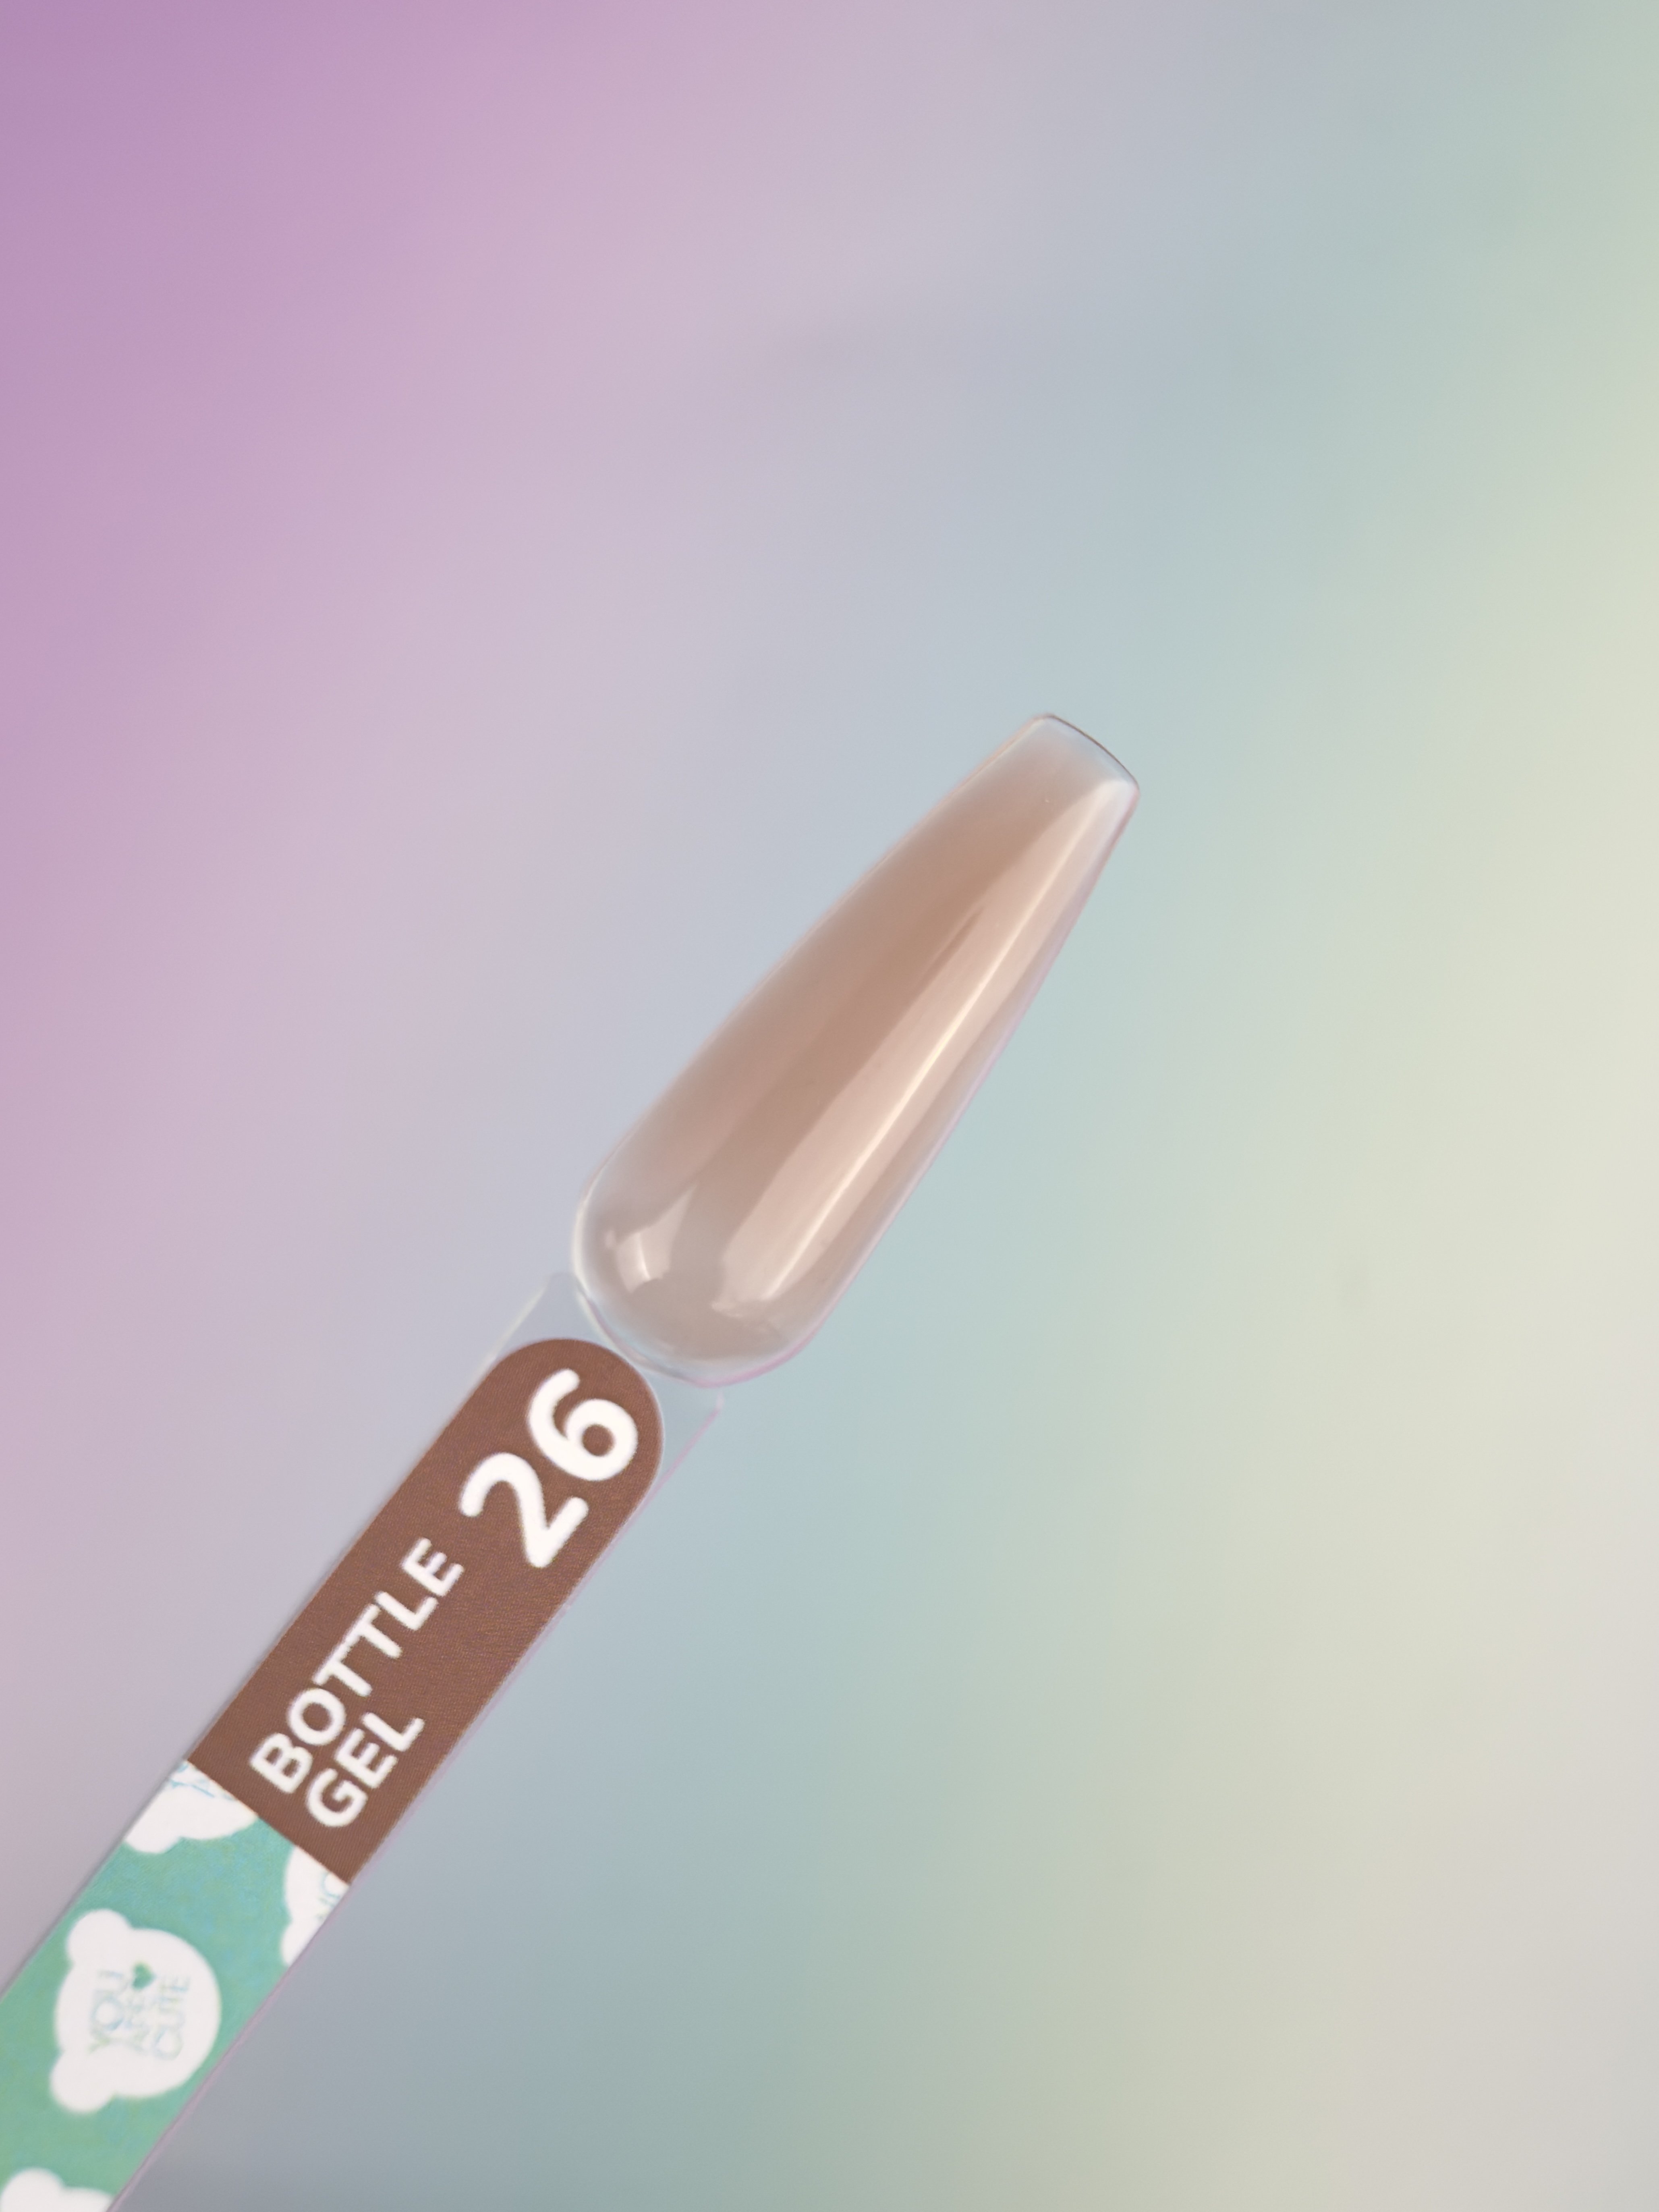
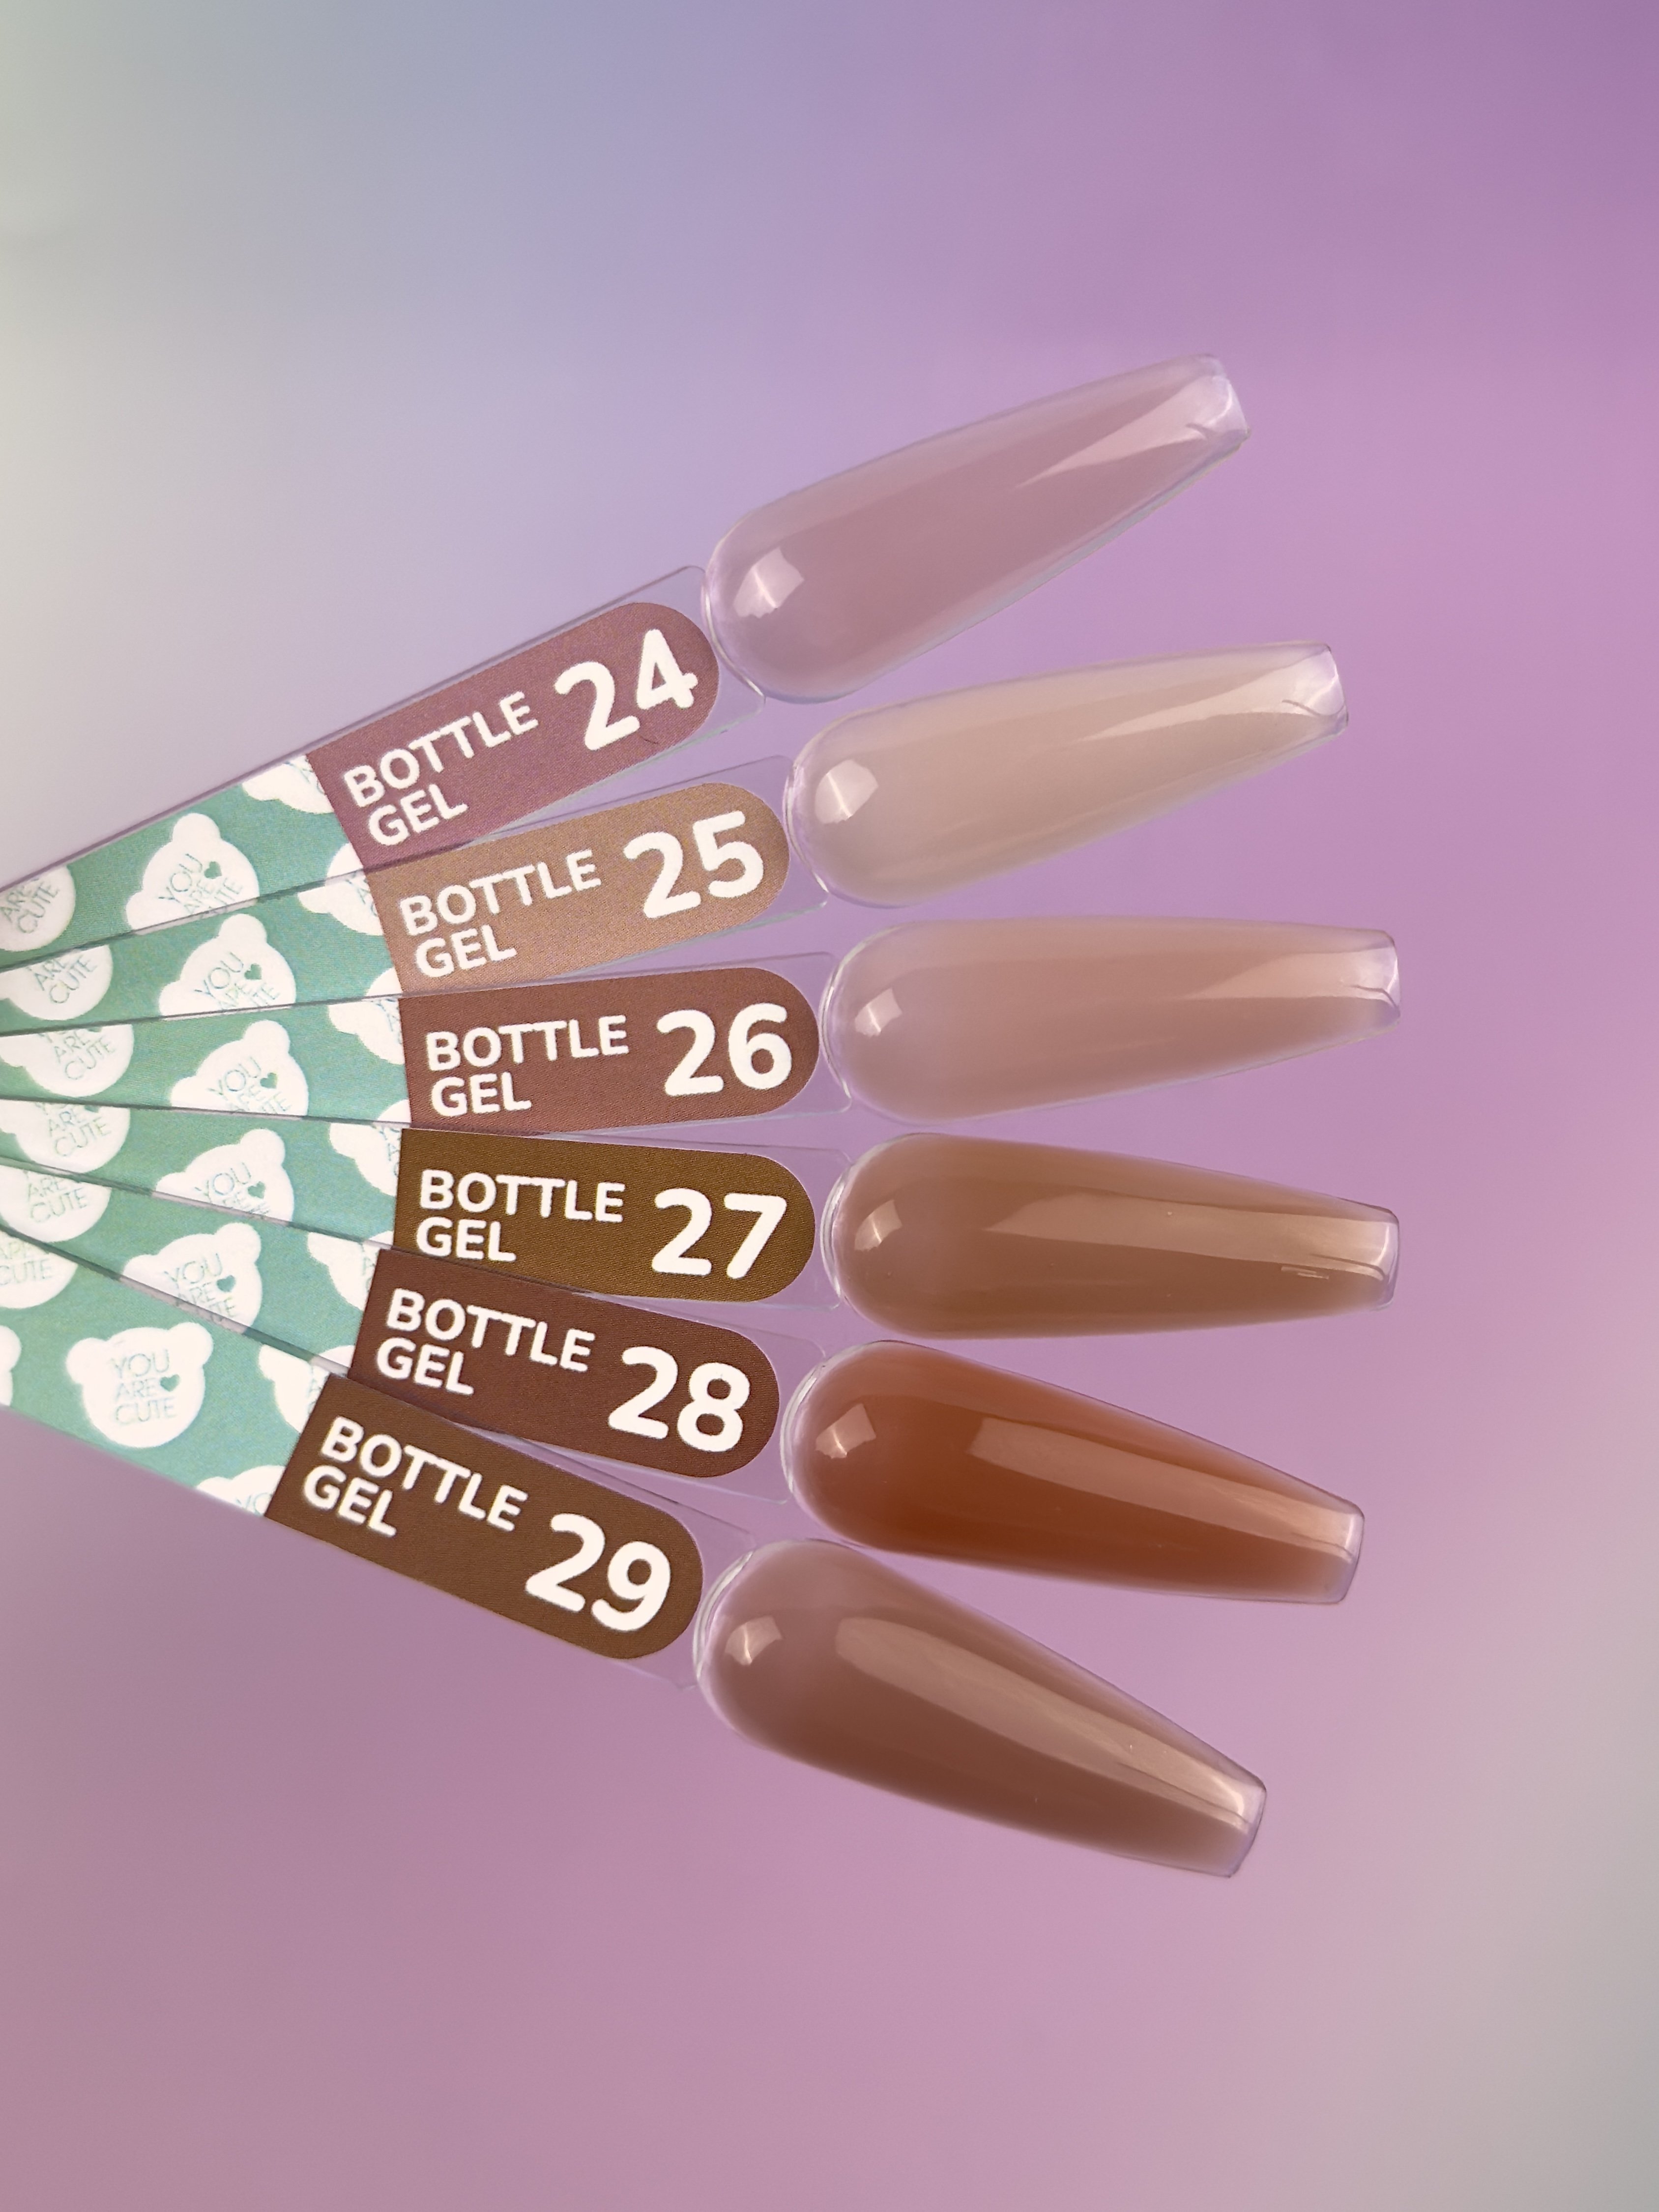
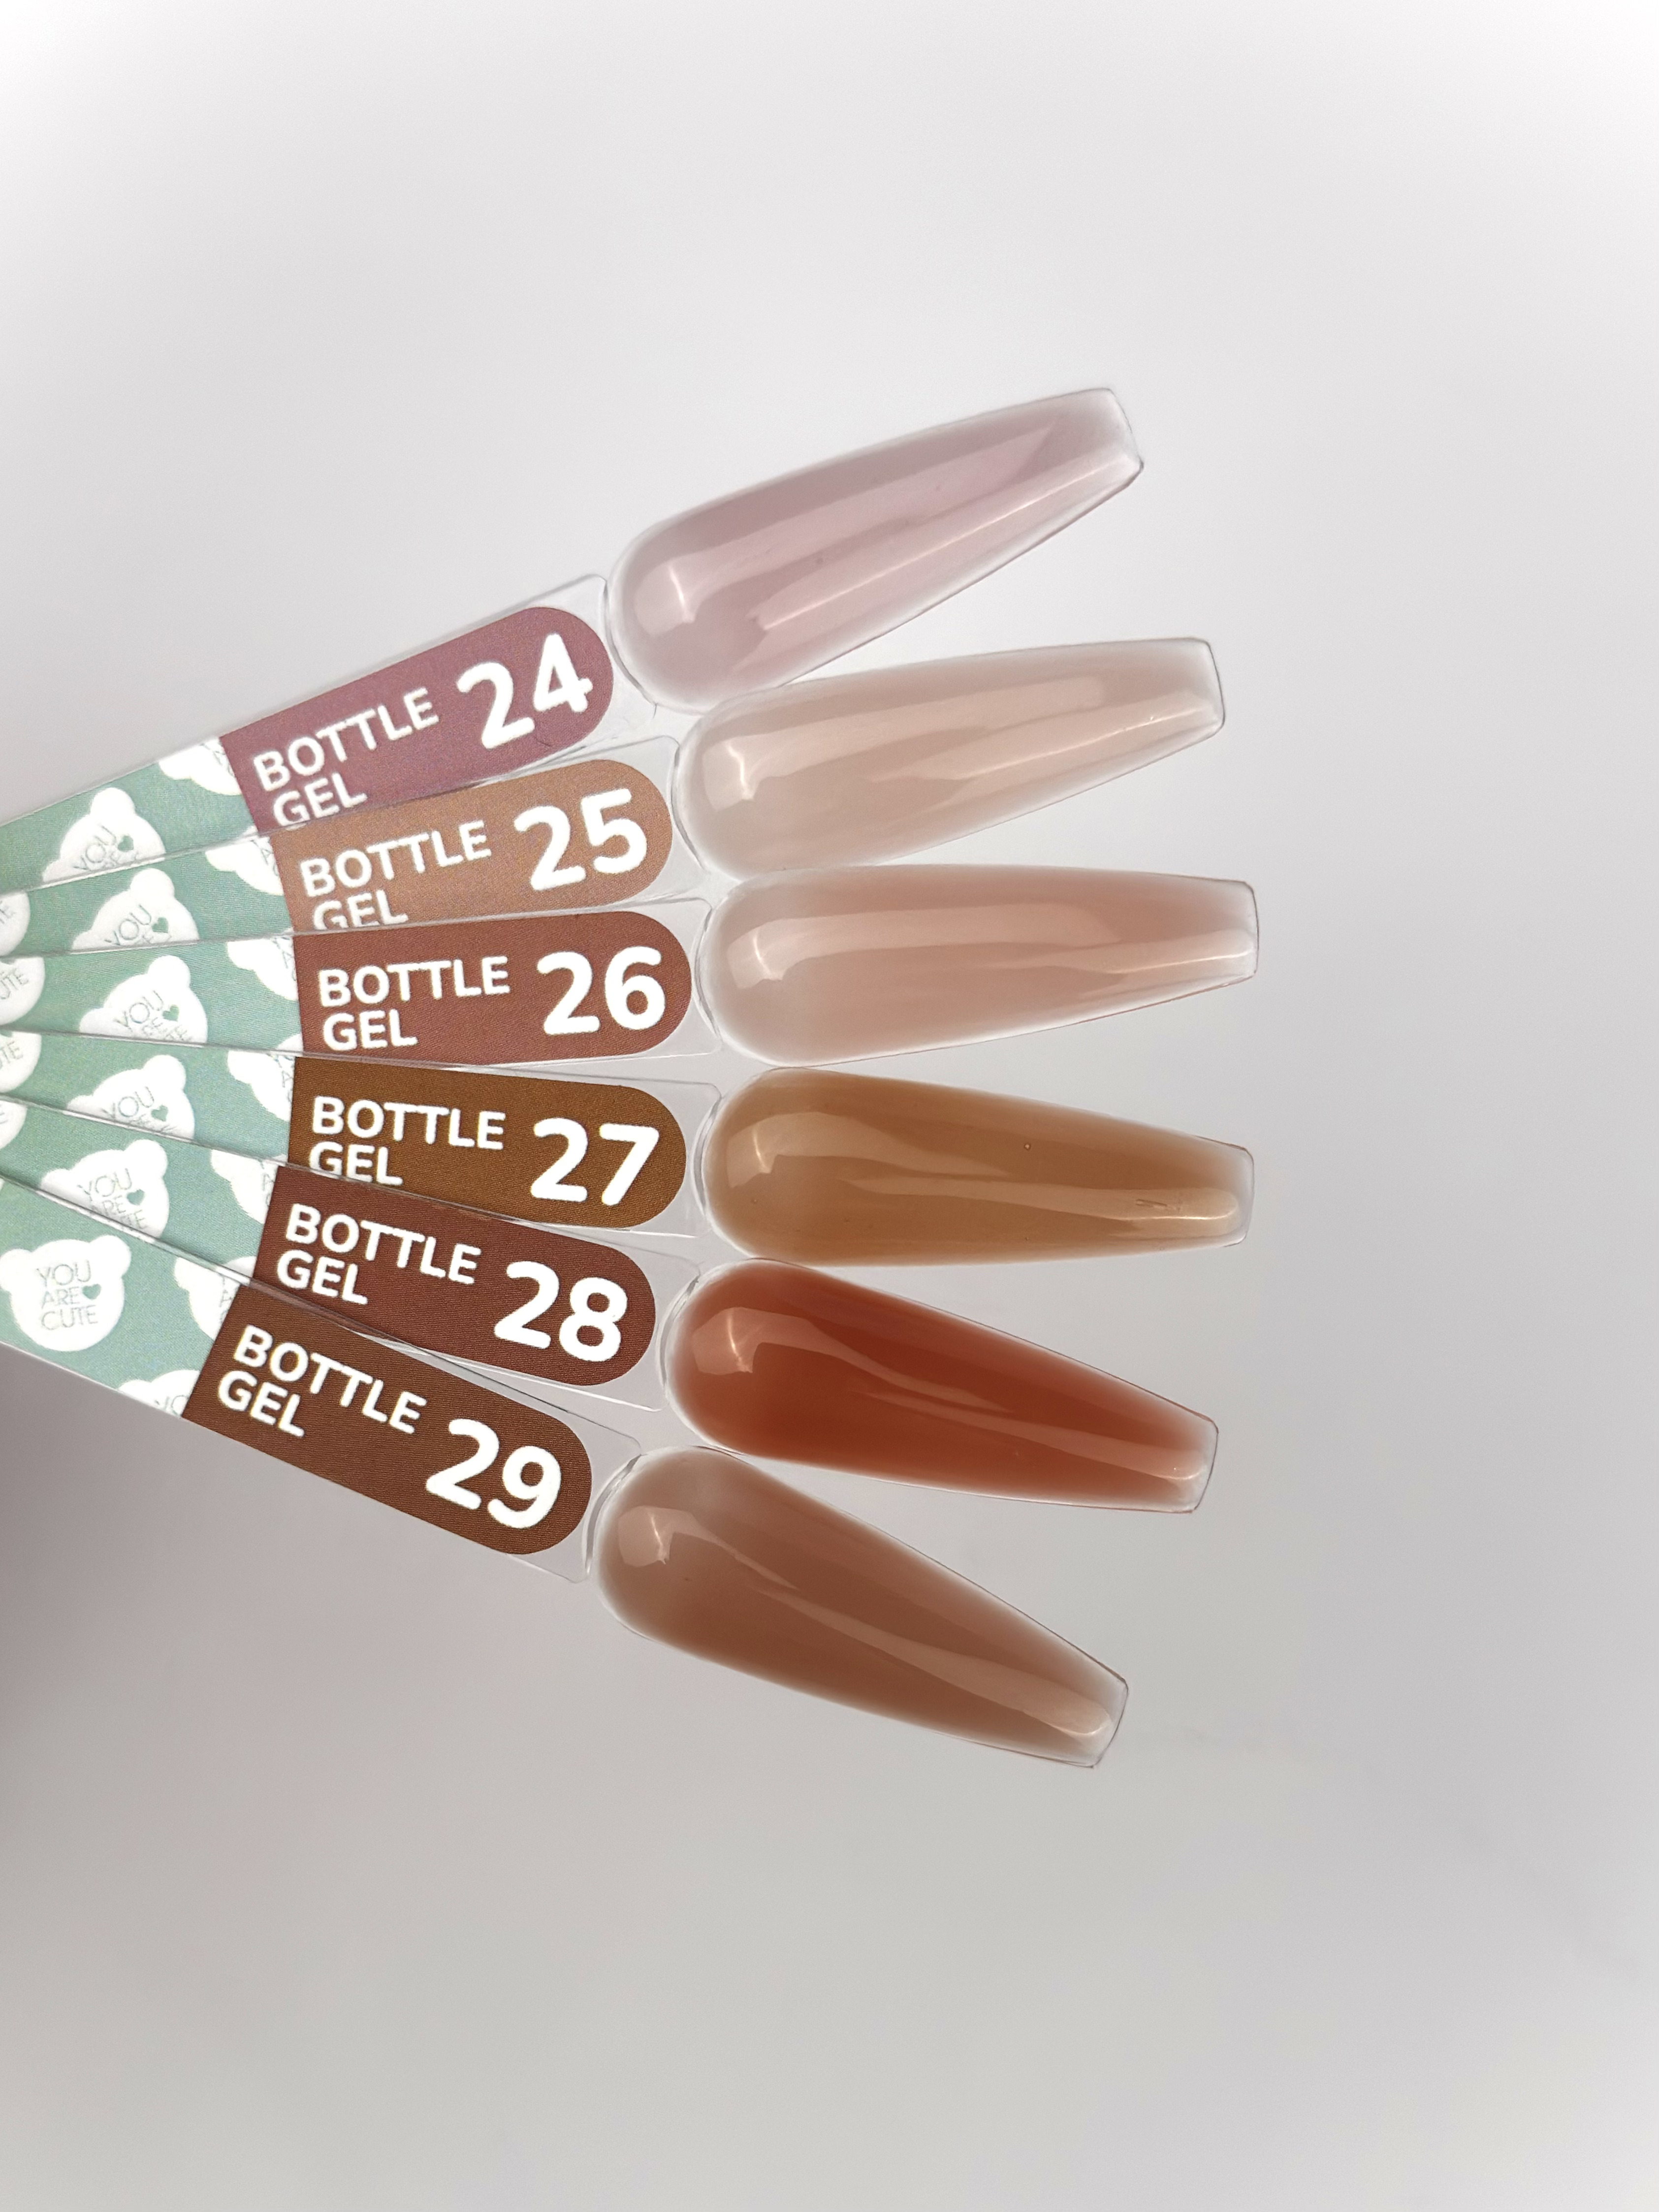
You Are Cute. Bottle Gel #26, 5 ml, liquid translucent gel


Please sign in so that we can notify you about a reply
LIQUID GEL BOTTLE GEL — an innovative material for strengthening, leveling, and overlaying nails. It is a symbiosis of polygel and base. It consists of 60–80% acrylic copolymer (the main component of polygel) and a small amount of hydroxyethyl methacrylate HEMA (approximately 20–30%), the main component of base coatings. Such a gel can completely replace base.
Features:
- Polymerization wavelength — 365–405 nm.
- UV/LED lamp power — 36–48 W.
- Allowable coating thickness — 0.5 mm at the nail edge, 1 mm at the apex.
- Acid-free, medium consistency.
- Medium pigmentation, covers the free edge.
- Full polymerization in 120 seconds.
- Suitable only for nail strengthening and overlays.
- Good cushioning.
- When strengthening with this gel, the natural nail must be filed.
- Requires a base layer of Rubber Base.
- It can be additionally heated to make the gel thinner.
Application method:
STRENGTHENING:
- Removal.
- Do not file the nail shape or leave 2 mm in length, which we will remove after leveling.
- Using a 220 grit nail file, file without strong pressure on the nail from above, raising the scales of the nail plate, or use a 100 grit buffer.
- Do a manicure.
- If working with removers, wash hands with soap after using them.
- Degrease the nail using Nail Prep. Do two passes. Use 4 wipes (1 wipe for 5 fingers). First pass: wipe the nail surface. Second pass: take an orange stick, wrap a wipe around it, and wipe everything in the cuticle area and side walls.
- Primer is optional, but if the base for the underlay has sufficient acidity, it is not needed.
- It is best to apply the underlay of Rubber Base with a flat gel brush. Movements should be rubbing. Paint all the nail sinuses and cure in the lamp for 60 seconds.
- Wipe off the sticky layer.
- Level. If leveling with gel, make a 0.5-1 mm indent from the cuticle. Cure for 60 seconds.
- File the shape after leveling. This is necessary to create thickness at the nail edge that will hold the free edge.
- If the nail was thin, it may curl, so be sure to file 1 mm of the natural nail from the inside. This will prevent peeling of the material. If the material is hard and the nail is very soft, the nail itself will start to separate from the hard material at the free edge.
- After filing, wipe off the stickiness and apply gel polish.
- Apply top coat. Cure for 120 seconds. Do not wipe anything after curing, as the shine may be lost.
CLASSIC EXTENSION:
- Removal
- Shorten the nail length to 1 mm and make a round shape.
- Using a 220 grit nail file, file without strong pressure on the nail from above, raising the scales of the nail plate, or use a 100 grit buffer.
- Do a manicure.
- If working with removers, wash hands with soap after using them.
- Degrease the nail using Nail Prep. Do two passes. Use 4 wipes (1 wipe for 5 fingers). First pass: wipe the nail surface. Second pass: take an orange stick, wrap a wipe around it, and wipe everything in the cuticle area and side walls.
- Use primer.
- It is best to apply the underlay of Rubber Base with a flat gel brush. Movements should be rubbing. Paint all the nail sinuses and cure in the lamp for 60 seconds.
- Wipe off the sticky layer.
- Place a nail form for extension of the free edge.
- Apply the shape of the artificial nail with clear gel. Cure for 30 seconds.
- File the free edge and shape the nail as needed.
- Wipe off stickiness and excess dust.
- Go over again with Rubber Base on areas where you used a file. Cure for 30 seconds.
- Level with gel, place in the lamp and clamp at the 10-15th second. If the gel has strong stickiness or contains glitter, clamp at the 20th second.
- Finish curing in the lamp for 120 seconds.
- Wipe off stickiness before applying gel polish.
- Apply top coat. Cure for 120 seconds. Do not wipe anything after curing, as the shine may be lost.
TPO FREE
Volume: 5 ml
Brand: You Are Cute
Country: Ukraine
Brand:
You Are Cute
Collection:
Amber
Property:
- bottle gel
- Sheer
- Liquid
Volume:
5
Coating characteristics
Product type:
Смарт гель
Color
Colors:
- Нюдовые/бежевые/коричневые
No posts found